
Winter Morning Fog: Why It Forms and How to Photograph It
Winter fog forms when clear, quiet nights cool damp ground to the dew point. Here is how to read the signs the night before and photograph that soft, layered light.
Fog rarely announces itself. You go to bed under a clear, cold sky and by six the streetlight outside has become a soft orange smudge; sound flattens, and the ordinary world loses its edges. For anyone who likes winter mornings, this is the good hour — the one where photographs arrange themselves. But fog is not random, and it is not easy to shoot well. Knowing why it forms tells you when to set the alarm. Knowing a few camera habits tells you how to come home with something better than grey nothing.
The first time you step into a proper winter fog, the change is almost physical. A familiar street becomes a sequence of small stages: a hedge, then a parked car, then a lamp glowing without a visible post. Distances collapse. A dog barks somewhere ahead and sounds close enough to touch. That compression of the world is the photographer’s advantage, but it is also a warning — fog rewards patience and punishes rushing.
Why Fog Forms on Winter Mornings
Air holds water vapour, and how much it can hold depends on temperature. Cold air is far less roomy than warm air. Cool a parcel of air to its dew point — the temperature at which it can no longer keep moisture invisible — and the vapour condenses onto tiny particles of dust, salt or smoke. That suspension of droplets is fog. The particles matter more than most people realise. Without condensation nuclei, water vapour can become supersaturated and still refuse to form droplets; with them, fog appears almost the moment the air crosses the threshold. This is why fog is often thicker downwind of a town, a chimney, or a stretch of coast where salt spray hangs in the air.
In winter the cooling happens from the ground up. On a clear night the land radiates heat to the sky and chills quickly, and the shallow layer of air resting on it chills too. Long nights give the ground more hours to lose heat, which is why the fog season runs from late autumn to early spring. Moisture near the surface supplies the vapour; a light breeze, not a strong wind, stirs the lowest few metres just enough to spread the cooling through a shallow layer. Too much wind mixes the fog away into low cloud. No wind at all and you get dew or frost instead. The ground becomes a cold plate, the air above it a thin sauce, and the whole system depends on a delicate balance between moisture, cooling and stirring.
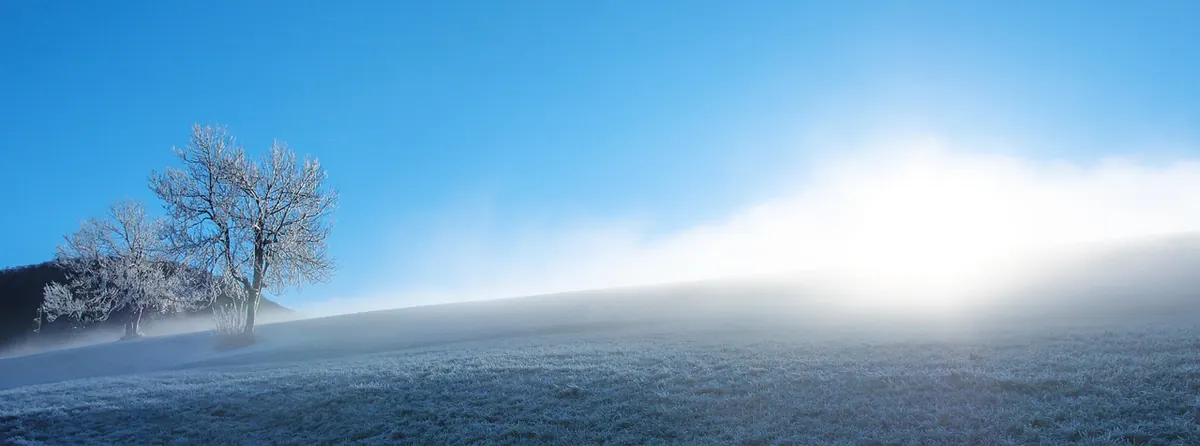
There is usually a lid as well. Winter air is often warmer above the surface than at ground level, an inversion that traps the cold, damp layer in place. Fog then sits in hollows and river valleys where cold air drains and pools. It is a shallow thing, a few metres to a few hundred, which is exactly why it is photogenic: stand in it at ground level, walk uphill, and you look down onto a white lake with towers and trees breaking the surface. A hilltop church, a line of poplars, the top half of a bridge — these become islands. The same fog that flattens a street at eye level can turn a modest ridge into a mountain range.
The Three Winter Fogs You Will Meet
Radiation Fog
This is the classic clear-sky winter fog. The ground cools overnight, the air just above it cools with it, and by dawn the lowest layer is saturated. Radiation fog is usually shallow, patchy and slow to form; it often thickens just before sunrise and burns off within an hour or two of direct sun. It is the fog of playing fields, suburban streets and frosted allotments. If you want the streetlight-smudge photograph, this is the one to chase.
Advection Fog
Advection fog forms when warm, moist air moves over a cold surface — a snow-covered field, a chilled lake, or the sea in early spring. It is less dependent on the overnight forecast and more dependent on the wind direction. It can arrive during the day, linger for hours, and be much deeper than radiation fog. Coastal photographers know it well: a mild breeze off the water and a cold landmass can produce a fog bank that swallows a lighthouse whole. It is harder to predict, but when it comes, it often brings the kind of heavy, sculptural atmosphere that makes distant objects float.
Valley Fog
Valley fog is really a form of radiation fog with a geography lesson. Cold air is denser than warm air, so on calm nights it drains downhill and pools in hollows, river bends and valley floors. The result is a white river of fog with clear air above it. Drive up a hill road at dawn and you may pass out of the fog into sunshine, then look back down on a landscape that has been erased below the contour line. This is the fog that rewards a short climb and punishes anyone who stays at the bottom.
Reading the Signs the Night Before
You do not need a meteorology degree, just a few things to check before bed.
- A clear sky after sunset. Clear means fast cooling. If the stars are sharp at ten o’clock, the ground is already losing heat.
- Light wind. A breath of air spreads the cooling; a gale kills it. Look for a forecast of 2–8 km/h, not a dead calm and not a blustery night.
- A small gap between temperature and dew point. Most forecasts list both. Within two degrees Celsius is prime. If the forecast says 4°C with a dew point of 2°C, the air is nearly saturated; a little overnight cooling will tip it into fog. A gap of 10°C or more means you can stay in bed.
- Damp ground. Recent rain, wet grass or a full ditch adds moisture to the lowest layer of air. A dry frost after a dry week is beautiful, but it rarely produces thick fog.
- A long night. December and January give the ground more hours to chill than October. The same forecast in midwinter is more promising than in late autumn.
- Nearby water or low ground. Rivers, lakes, reservoirs and boggy fields are fog factories. Check a map for a valley or a watercourse within a short drive of home.
If the dew point is within two degrees of the overnight low, fog is a real possibility. If it is within one, plan to be out early. If the wind is already rattling the windows, sleep in.
How to Photograph Fog: Exposure and Gear
Fog is bright. It looks grey to the eye, but a large field of white droplets fools a camera meter into underexposing. Your photograph comes back muddy and dark, and the delicate top tones disappear. The fix is straightforward: add exposure compensation, usually +1/3 to +1 stop, and check the histogram. You want the brightest areas to sit high but not clipped; a little detail in the white is the whole point. If the histogram is piled against the right edge, pull back. If it is bunched in the middle with nothing above, add more light.
Shoot RAW if you can. Fog scenes are low-contrast and quietly coloured, and RAW gives you room to lift the shadows, cool or warm the white balance, and recover the subtle separation between nearby and distant layers. Auto white balance often drifts toward grey-blue in fog; that is not wrong, but decide deliberately whether you want the cold, blue-hour look or the warmer glow of a rising sun trying to punch through. A tripod helps more than you think. It slows you down, steadies long lenses, and lets you use small apertures without pushing the ISO.
Autofocus can struggle when there is little contrast. Switch to manual focus and use live view, or focus on a nearby branch, railing or lamp post and let the distance soften naturally. A lens hood keeps stray droplets off the front element, and a microfibre cloth is essential — fog condenses on cold glass. If you are out for a long time, carry a spare cloth in a sealed bag and resist the urge to wipe every thirty seconds. A small blower can clear dust without touching the lens.
Composition in a World Without Edges
Fog removes detail, so composition becomes about layers and shapes. Find a strong foreground subject — a fence post, a shed, a rock, a person in a bright coat — and let the background dissolve behind it. The eye needs an anchor. Without one, a fog photograph becomes a grey rectangle with a vague smudge in the middle.
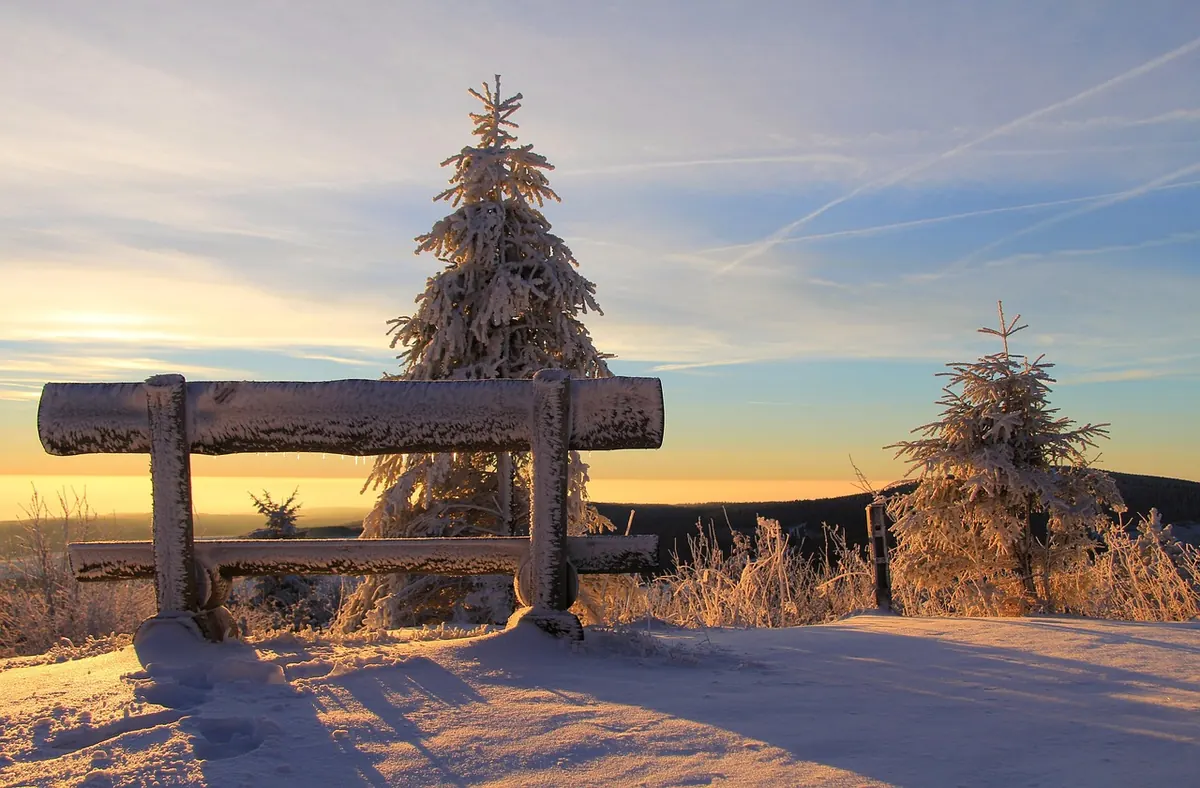
Look for silhouettes. Trees, gates, bridges, cranes and rooftops read beautifully when stripped of texture. Think in terms of negative space: the empty white area is not wasted, it is the subject’s companion. A single bench in a white field can say more than a busy street. Try a longer lens to compress the layers; distant objects will stack up like sheets of tracing paper. Then try a wide lens to show the loneliness of the scene. Both work, but they tell different stories.
Colour is scarce, which makes what remains powerful. A red coat, an orange streetlight, the green of a fir tree or the warm yellow of a window becomes a small event. Hunt for those accents. Also watch for movement: a cyclist emerging from the white, a bird crossing a gap, steam rising from a vent. A static fog scene can be beautiful, but a single moving element gives it a pulse.
Timing, Safety and the Slow Burn-Off
The best light in fog is often before the sun is fully up, or just as it begins to burn through. Arrive early. Blue hour fog has a cool, cinematic quiet; sunrise fog turns peach and gold for a few minutes before the droplets evaporate. The burn-off itself is worth photographing: trees emerge one by one, the horizon reappears, and the world reassembles. Do not pack up the moment the sun clears the ridge.
Safety matters more than the shot. Fog hides ice, traffic, cyclists and the edge of a riverbank. Wear warm layers, carry a torch, and tell someone where you are going. If you are driving, use dipped headlights and leave extra distance; do not stop in a live lane for a photograph. On foot, be careful near water and steep ground — the most dramatic viewpoint is often the least forgiving. Cold air also drains batteries, so keep a spare in an inside pocket.
A Quick Field Checklist
- Check the dew point, wind speed and cloud cover the night before.
- Pick a location with foreground interest and, ideally, a higher viewpoint nearby.
- Arrive before sunrise; shoot through the burn-off.
- Add exposure compensation and check the histogram.
- Focus manually on a nearby contrast point.
- Look for silhouettes, layers and one spot of colour.
- Keep the lens dry and the spare battery warm.
Winter morning fog is a temporary architecture. It builds overnight, stands for an hour or two, and then quietly dismantles itself. The photographers who come home with something memorable are rarely the ones with the most expensive gear; they are the ones who understood the forecast, got out of bed, and gave the fog enough time to show them its shapes. Set the alarm, check the dew point, and walk into the white.
Photo: adege / Pixabay