



Snowshoeing vs Winter Hiking: Which Is Better for a Beginner?
Snowshoes and winter boots suit different ground, gear and effort levels. A practical guide to choosing your first winter trail, from traction and terrain to pacing and safety.
The car park at a winter trailhead tells the story better than any comparison table. One group is kneeling to strap wide frames onto their boots before heading for the untouched meadow above the village. Another group walks straight past them onto the packed path, small spikes already fitted. Both are dressed well, both look pleased with themselves, and both will be tired in quite different ways by mid-afternoon.
If you are new to winter trails, the choice between snowshoes and ordinary winter boots is worth thinking through properly — not because one is better, but because they ask different things of your legs, your gear and your judgement.
Two Different Ways to Walk on Snow
Snowshoes exist for one reason: flotation. A wide deck spreads your weight so you stay near the surface instead of sinking to your knees. The binding attaches to your own winter boots, a hinged plate lets your heel lift as you step, and most models have a bar you can flip up under the heel for climbs, which saves your calves on long ascents. You can leave the trail entirely: cross a meadow, follow a forest road nobody has packed since the last snowfall.
Winter hiking is the simpler proposition. You wear your boots, add traction if you need it, and walk. On a packed path, a groomed trail or a snow-covered fire road, this is often the most efficient way to cover ground in winter. Microspikes — a rubber harness with small steel points under the forefoot — are enough for hard-packed snow and icy patches. Crampons, with long front points and rigid attachment, belong on steeper, harder ice and are usually overkill for a beginner on a valley trail.
The confusion comes because the two overlap. Plenty of snowshoe routes are perfectly walkable in boots a day after they are broken. And plenty of people set off in snowshoes on a rock-hard track where flotation does nothing except make the stride awkward.
Gear: What You Carry Changes the Day
Your choice here shapes the rest of your kit. Snowshoes themselves are light, but they ask more of your boots: a soft, floppy sole will twist inside the binding and leave you with sore feet and a loose frame. A reasonably stiff winter boot works far better. Poles become genuinely useful rather than optional, and gaiters keep powder out of your socks when you post-hole up to your shins.
Winter hiking gear is leaner, but the traction you carry needs to match the surface. Useful basics either way:
- Insulated, waterproof boots with room for a decent sock and no tight spots
- Layers you can shed while moving: a wicking base, a light insulating mid layer, a shell
- A spare warm layer and dry gloves in the pack, not on your hands
- Poles with snow baskets, which stop them sinking
- A headlamp, even on a short day — dusk arrives early in the mountains
- A map and a charged phone, kept inside a pocket; cold drains batteries fast
- Food, a hot drink in a flask, and a small foam mat to sit on
If you are unsure, rent before you buy. A day on rented snowshoes along a marked route tells you more than a shop assistant can.
Terrain: Where Each One Makes Sense
Snowshoes come into their own on rolling ground and deep snow: meadows, forest tracks, low passes, the kind of terrain where a summer path exists but nobody has walked it since Tuesday. They are clumsy on tight, steep, rocky ground, and wide frames catch on branches and twist knees on hard side slopes.
Boots and spikes suit packed trails, groomed winter walking routes, farm tracks and valley paths that see regular traffic. You move faster and with a more natural stride. The limit is the surface: once the snow is soft and unconsolidated, the trail disappears and every step becomes a negotiation with the drifts.
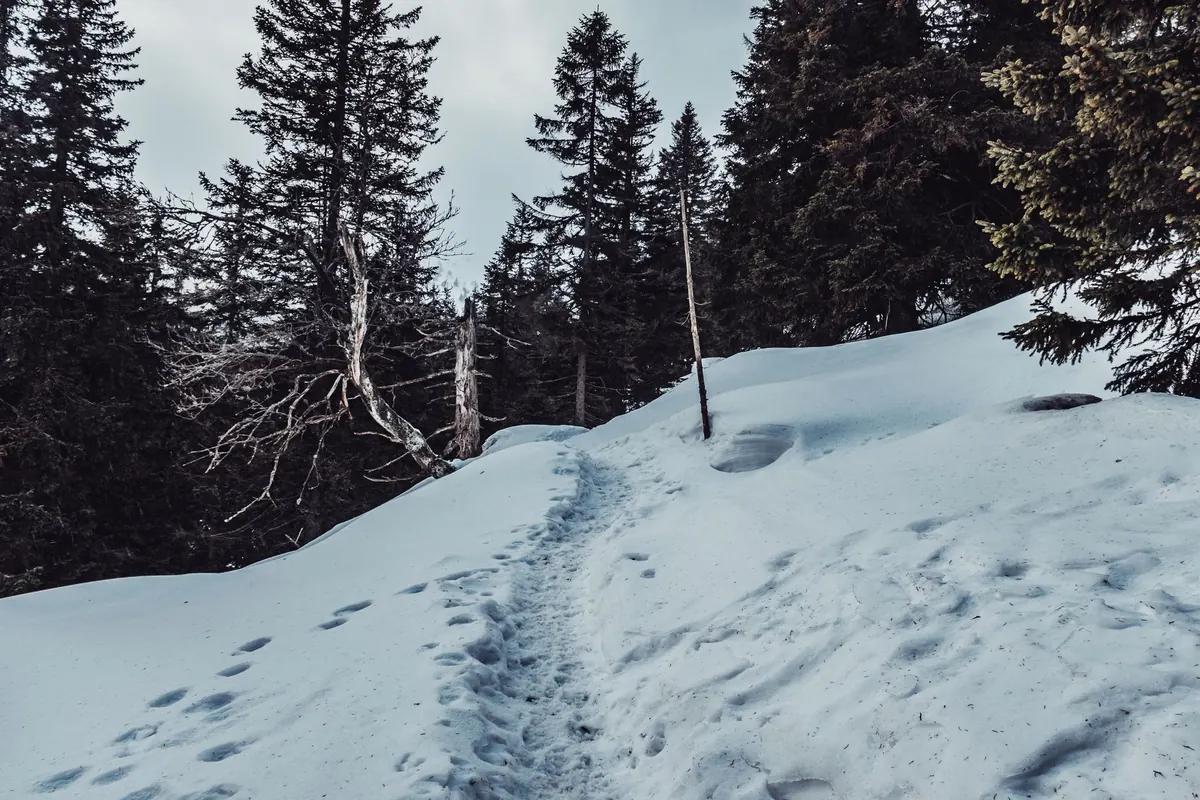
A practical way to pick a route: look at what the trail has been doing. If it is visibly tracked and firm, walk it. If it is a blank white slope with no line through it, snowshoes are the honest tool.
Effort and Pacing
Snowshoeing is slower than most beginners expect, particularly if you are the one breaking trail. Stepping into knee-deep powder, lifting a loaded frame and pressing it down again is real work — pleasant on a blue-sky morning, punishing after two hours. Groups often rotate the lead every ten or fifteen minutes so nobody blows up. Distances shrink accordingly: a route you walk in three hours in summer may take five in fresh snow.
Winter hiking on a packed track feels closer to normal walking, though ice and awkward footing still slow you down. Cold muscles are less forgiving, so start gentler than you would in July and warm up on flatter ground before any climb. In both cases, plan for less distance and more time than the summer version of the same route, and set a turn-around time rather than a summit target. Aiming for a destination and ignoring the clock is the classic beginner error; the mountain will still be there next month.
Safety: The Same Basics, Different Priorities
The core habits are identical, but each activity puts weight on different things. Run through a check before you leave:
- Read the weather and mountain forecasts and, where relevant, the avalanche bulletin. Snowshoes give flotation, not avalanche training.
- Choose a route with a clear bail-out: a shorter loop, a forest road, an early return.
- Tell someone your route and expected return time, and message them when you are down.
- Set a strict turn-around time and keep it, even if the top looks close.
- Carry a headlamp, extra insulation, first aid, water, food, navigation, a repair kit, sun protection, an emergency shelter and a way to call for help.
Two winter-specific risks deserve attention. First, daylight: short days and slow travel mean you may finish in the dark, so know the sunset time. Second, cold injuries: frostbite and hypothermia creep in during stops, so add a layer before you feel cold, eat and drink regularly, and keep moving. If you plan to travel in avalanche terrain, take a proper course and go with someone experienced; that is not something you learn from a website. Any health concerns about exertion in the cold are worth raising with a doctor before your first outing.
So Which Should a Beginner Pick?
For most first-timers, a winter hike on a packed, marked trail is the gentler introduction. The kit list is short — boots, spikes, warm layers — and the movement is familiar, so you can pay attention to the cold, the light and the route rather than your feet. It also tests your clothing system before you commit to a longer day.
Choose snowshoes if the appeal is leaving the track behind: a quiet meadow, a forest road with no boot prints, the pleasure of standing on top of the snow rather than in it. It is a more physical day, and a kinder one for ankles on soft ground. Rent first, go with someone who has done it, and keep the route short.
There is no rule that you have to choose permanently. Many winter walkers keep both options in the car and decide at the trailhead based on what the snow has been doing.
Your First Day Out, Step by Step
Pick a short, well-marked route you already know in summer, ideally with an easy exit. Check the forecast and the snow conditions the day before. Decide on footwear and pack accordingly: spikes for firm tracks, snowshoes for soft ground, poles either way.
Start early, eat before you get cold, and take shorter, more frequent breaks rather than one long sit. Turn around at your set time. Back at the car, note what worked: were your feet dry, were your hands warm, did the pace suit you? Those notes matter more than any comparison chart. The best winter setup is the one you will happily use again next weekend.
Photo: Jędrzej Koralewski / Pexels