
A Checklist for Photographing Sunrise on a Snowy Morning
A practical pre-dawn routine for snowy sunrise shoots: camera settings, composition ideas, cold-weather gear care and simple safety habits that keep you shooting when the light arrives.
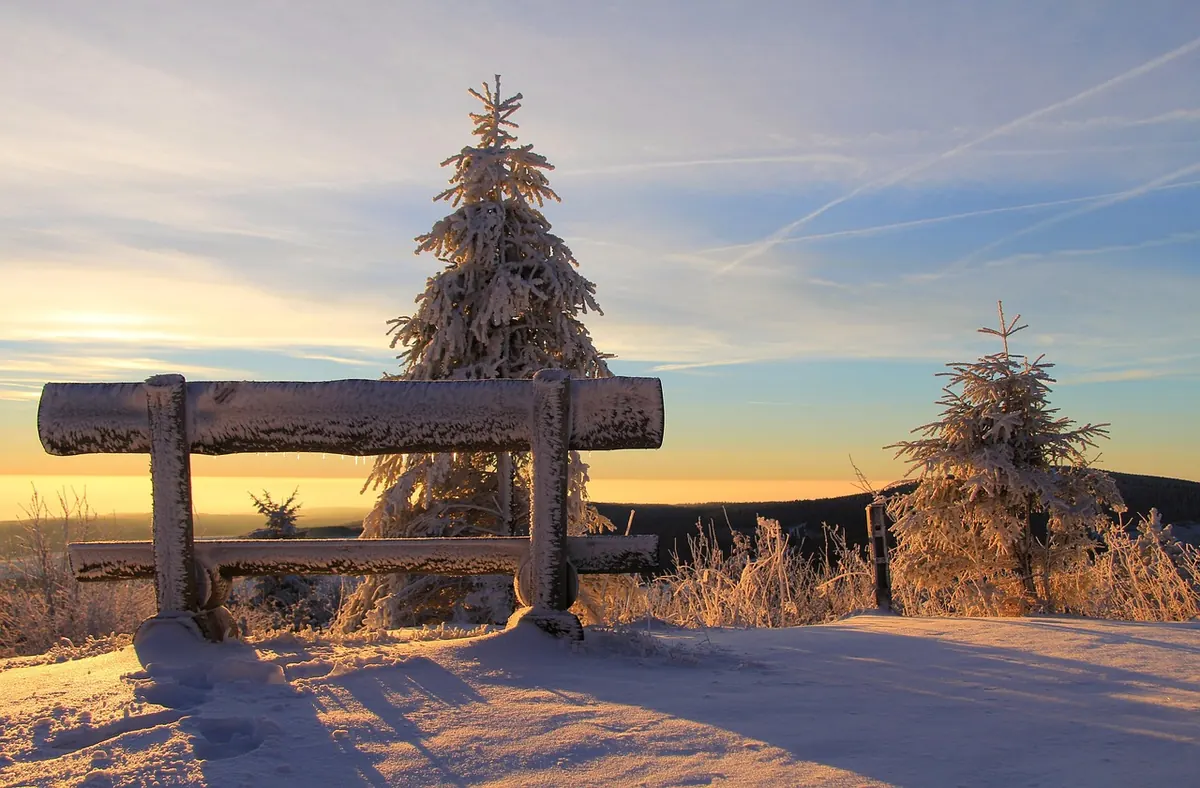
At 5:10 on a January morning the car is iced over, the thermos is already cooling, and the first faint blue is beginning to show above the ridge. This is the hour when a snowy sunrise is usually won or lost — not at 7:04, when the sun finally clears the trees, but in the quiet, fumbling time before it. Photographers who come home with crisp, well-exposed frames in the snow are rarely luckier than everyone else. They simply arrived with a camera that was already set up and hands that still worked.
Prepare the Night Before
Most cold-morning mistakes are made indoors, in the warm, at 9 p.m. Do the boring work then and the mountain gets your full attention.
Charge every battery you own and put the spares in the pocket of the jacket you'll wear, not in the camera bag. Cold drains cells quickly, and a battery that reads full in the kitchen can sag after an hour at minus ten. Format your cards at home so you aren't deleting files with numb fingers. Wipe the front element and the rear glass of each lens, then check that you actually packed the cloth you just used.
Pack the bag in the order you'll need things: headlamp and gloves on top, the camera body and the single lens you plan to use next, spares below. Bring a small towel, a spare cloth, a thermos and a plastic bag big enough for the camera. Check the sunrise time for your exact spot rather than the town, and plan to be standing there thirty-five to forty minutes early. Blue hour is often the better picture anyway.
Dress and Move Wisely in the Dark
You will be standing still for an hour, which is a different job from hiking. Layer for it: a warm base layer, an insulating mid layer, a windproof shell, and boots with room to wiggle your toes. Tight boots are cold boots. Two pairs of thin gloves — a liner for setting dials and a heavier shell over the top — beat one thick pair you have to keep taking off.
Tell someone where you're going and when you expect to be back, especially if there's no phone signal at the trailhead. Use a headlamp with a red mode; it saves your night vision and doesn't blind the other photographer who got there first. Walk the trail before you trust it. Snow hides ice, buried roots and the edge of a stream, and a twisted ankle at 6 a.m. ruins the morning more thoroughly than a flat battery.
If your route crosses steep open slopes, that is avalanche terrain, and a sunrise is not a reason to guess. Go with training, a partner, and a look at the day's forecast, or choose a lower, safer viewpoint. Turning back is a normal part of the plan.
Set the Camera Before the Light Arrives
Decisions are expensive in the cold. Make them while you can still feel your fingertips.
Shoot RAW. Set manual exposure and manual ISO so the camera stops guessing in a scene that confuses it. Snow reflects a great deal of light back at the meter, and the usual result of automatic exposure is grey, underexposed snow that looks like wet concrete. Add exposure compensation or open up until the highlight warning starts to blink at the brightest edge of a drift, then pull back a third of a stop. The histogram should reach toward the right without piling up against the wall.
For most snowscapes, f/8 to f/11 keeps a foreground ridge and a distant peak both sharp, with ISO 100 to 400 and a shutter speed fast enough for whatever is moving — a skier, a dog, blowing spindrift. A colour temperature around daylight is a sensible starting point; the blue hour is meant to look blue, and you can warm it later if you want.
Set three-frame auto bracketing at about one stop apart for high-contrast sunrises. Switch off stabilisation when the camera is on the tripod. Use the two-second timer or a remote release. Focus manually in live view, magnified on a contrasty edge, or use a single autofocus point placed deliberately — auto-area focus will happily lock onto a bright patch of empty snow.
Compose in a White World
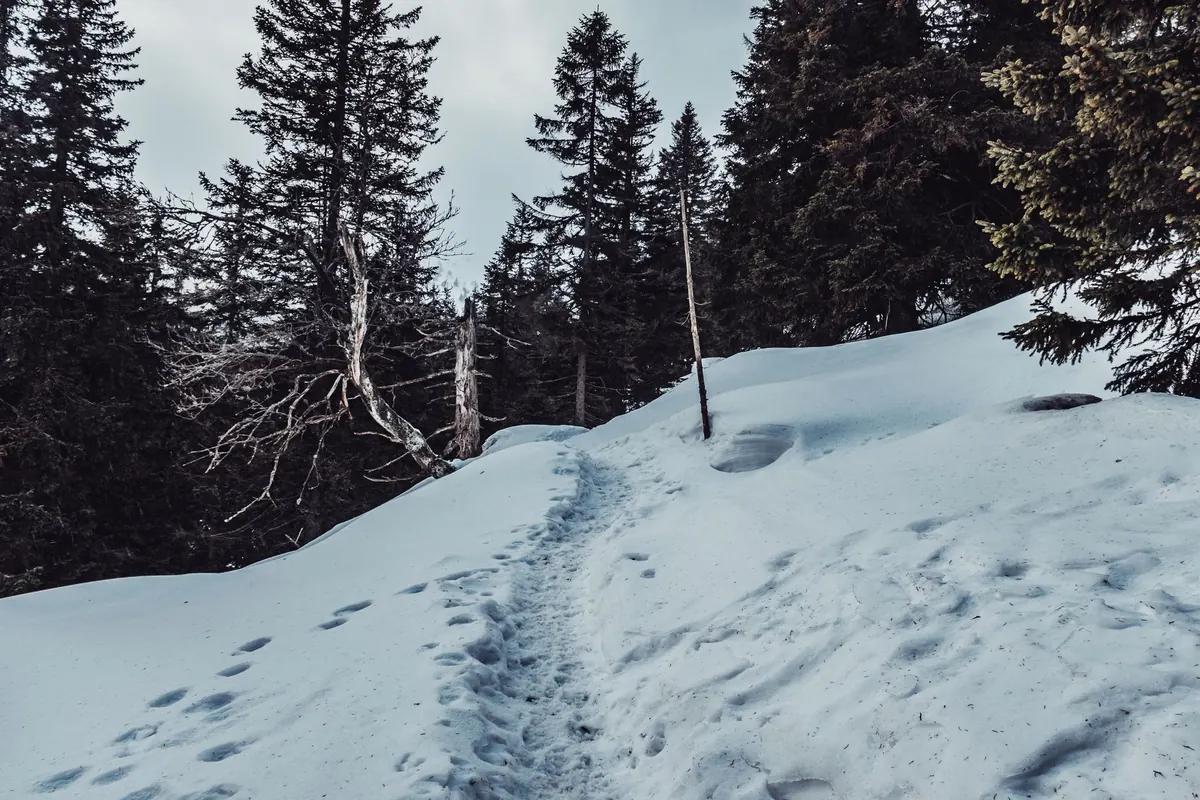
A field of snow is a lovely thing and a boring photograph. Give the eye somewhere to land: a lone pine, a fence post, a curl of wind-blown ridge, a set of tracks leading in from the corner of the frame. Dark elements are valuable here — rock, bark, a climber in a red jacket — because they anchor all that brightness.
Get low and use the texture of the surface. Sastrugi and fresh drifts read beautifully when the light comes in almost parallel to them, and that light lasts only minutes, so find your foreground before it happens. Try a deliberately minimal frame too: one small subject, a large soft gradient of sky, the horizon placed high or low rather than dead centre.
Watch for your own footprints. Arrive by one route, then move carefully so the pristine snow in front of you stays pristine. If you must cross it, cross once, at the edge, and let the tracks become part of the picture.
The Last Ten Minutes: A Field Checklist
- Tripod levelled, legs locked, spikes or baskets in the snow.
- Lens hood on, front element checked for breath and flakes.
- Battery warm, spare in an inside pocket.
- RAW, manual exposure, highlight warning on.
- Bracketing enabled; timer or remote set.
- Focus confirmed at working aperture, not wide open.
- Composition chosen with a clear subject and a foreground.
- Tracks and tripod shadows checked — nothing stray in the frame.
- Gloves back on before the fingers go quiet.
- One test frame reviewed at full magnification.
Keeping Gear Alive in the Cold
Batteries are the first thing to fail and the easiest to protect. Rotate two cells between the camera and a chest pocket, and the shoot usually outlasts the sunrise. Condensation is the second problem: never breathe on a cold rear element, and if you must change lenses, do it in the car, out of the wind, with the camera pointing down.
Cold gear is fine. Cold gear that gets wet and then freezes is not.
Brush loose snow off the camera before you get back in the car, and seal it in a bag before you walk into a warm room, so the moisture condenses on the plastic instead of inside the lens. Let it come up to room temperature slowly, then dry everything properly. The same goes for you: wet gloves and a damp base layer stop being insulation the moment you stop moving.
Stay a Little Longer Than You Think
The best light is often ten to twenty minutes after the sun clears the horizon, when the peaks turn pink and the shadows in the valley go blue. Many photographers pack up at the moment of sunrise and miss it. Keep shooting until the snow starts to look flat and white, then stop, back up your card that evening, and note what worked.
The next snowy morning will come soon enough — and the checklist will already be half done.
Photo: Oimheidi / Pixabay